Introduction
A contact lens is a thin, curved lens placed directly on the surface of the eye. It offers a clear and natural field of view without the weight. Many people prefer contact lenses for their comfort, and suitability for active lifestyles. However, learning the correct way to handle and insert a contact lens is important for maintaining eye health.
Proper hygiene and technique are essential when using a contact lens. By following simple, step-by-step instructions, you can ensure the lens is positioned correctly for clear vision and all-day comfort.
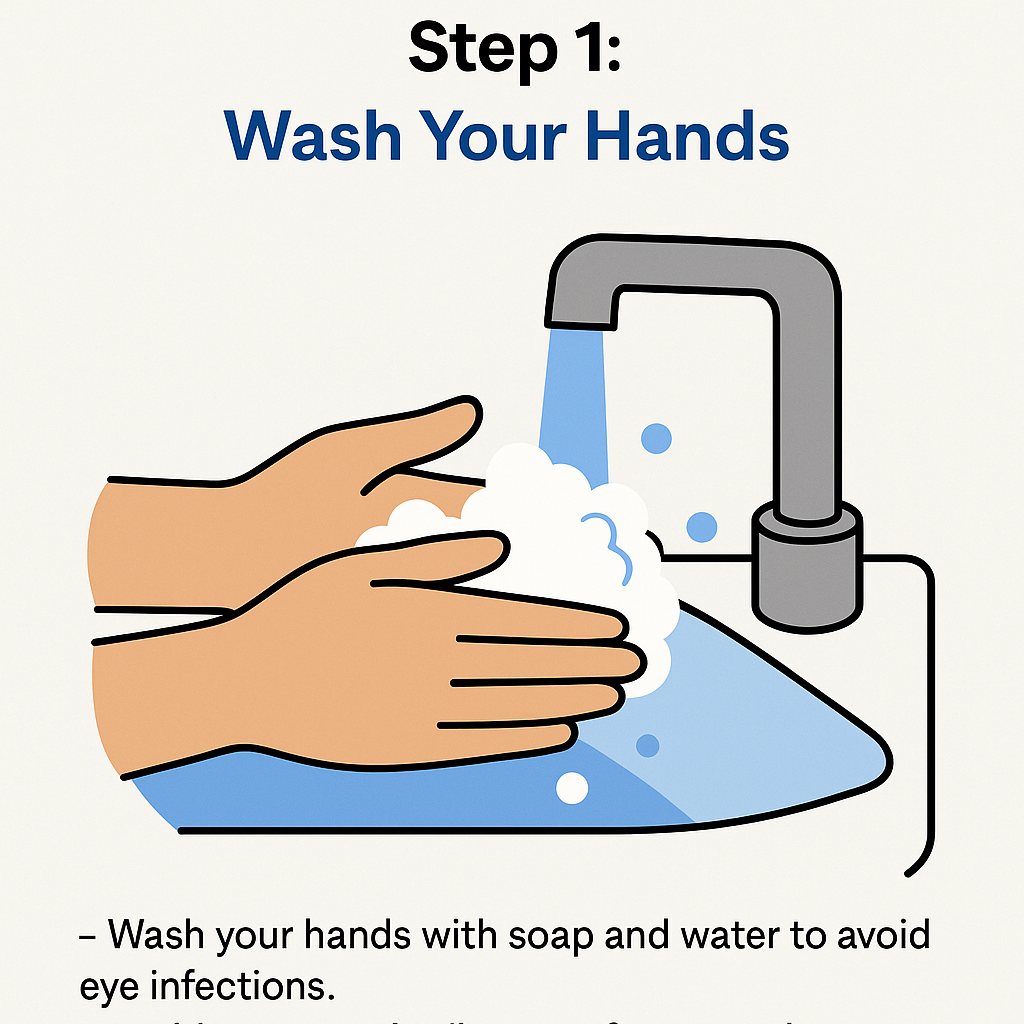
Step 1: Wash Your Hands
- Wash your hands with soap and water to avoid eye infections.
- Avoid soaps with oils or perfumes as they can stick to the contact lens.
Step 2: Dry Your Hands
- Use a clean tissue or lint-free cloth to dry your hands.
Step 3: Take Out the Contact Lens
- pick up one contact lens from its storage case.
- Place it on the tip of your index or middle finger.
Step 4: Rinse the Lens
- Rinse with contact lens solution.
- If dropped, rinse again before using.
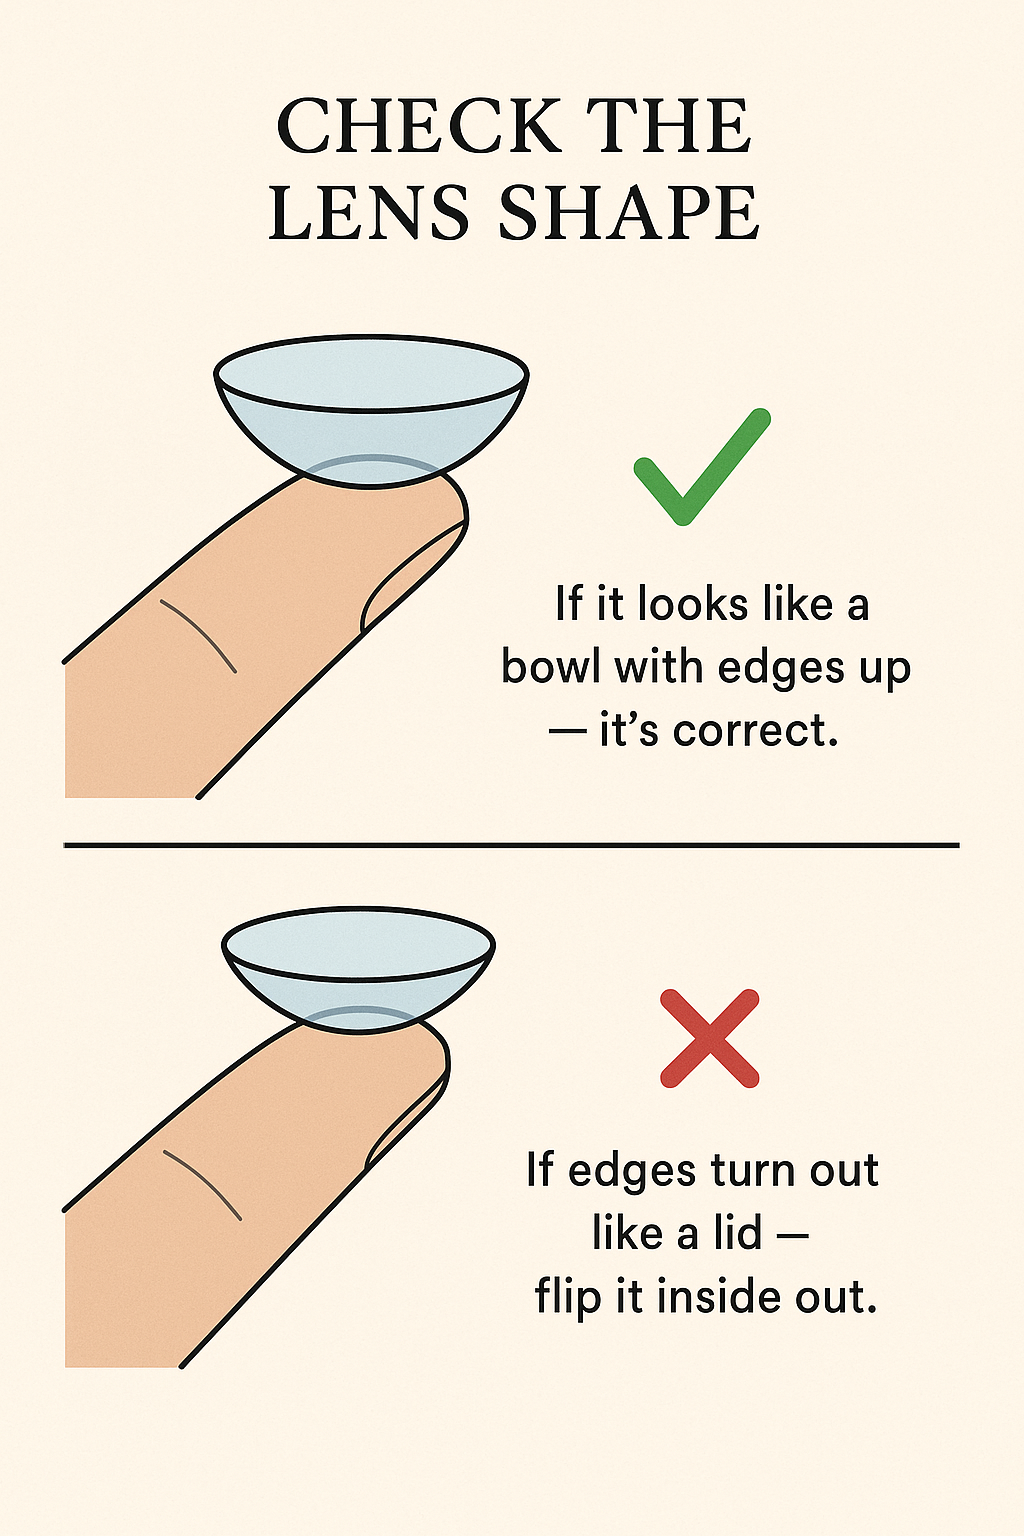
Step 5: Check the Lens Shape
- If it looks like a bowl with edges up — it’s correct.
- If edges turn out like a lid — flip it inside out.
Step 6: Hold Your Eyelids
- With your other hand, hold your upper eyelid open.
- Use your middle finger to pull down the lower eyelid.
Step 7: Insert the Contact Lens
- Look straight ahead or up at the ceiling.
- Gently place the contact lens on your eye.
Step 8: Let the Lens Settle
- Slowly close your eye and roll it in a circle.
- Blink gently a few times.
Step 9: Check Comfort & Vision
- If it feels comfortable and vision is clear — you’re done!
- If it feels uncomfortable or blurry, remove and reinsert.